


Have you ever been asked to move a mailbox back from Exchange Online to your Exchange On-Premises hybrid server? Could have been for reasons that this is how your company processes termed users. Could be that you want to export the mailbox to a PST for some reason. Could also be that you are just doing some simple troubleshooting of some kind. Whatever the reason may be, a very common issue could occur when doing so.
A very generic error, one that has struck fear in the hearts of many an Exchange Admin. Yes, the dreaded TRANSIENT ERROR! And I’m talking about this one right here:
Transient error CommunicationErrorTransientException has occurred. The system will retry (1/60))
Which can also come in the form of this error as well:
Error: Cannot query rows in a table. –> MapiExceptionTooComplex: Unable to query table rows.
Googling this error will yield plenty of results. Some may be helpful, but for the most part, it’s more of the same. Admins, just like you, looking for answers on how to fix this.
Well worry no more, for I am here to help! There is a simple way to resolve the issue, and I will go over it with you in this post.
First things first. You’ll need to work from a machine that has Office installed and that you can configure the affected mailbox’s profile on. Next, you’ll need to download the MFCMAPI tool from the CodePlex Archive. This can be found here.
The last thing you will need is to be able to use PowerShell (not necessarily from the machine you are running Outlook on for the mailbox profile) to connect to Exchange Online
Once you have all of the prerequisites, follow these steps to resolve your issue:
First, connect to Exchange Online via PowerShell
$UserCredential = Get-Credential
$Session = New-PSSession -ConfigurationName Microsoft.Exchange -ConnectionUri https://outlook.office365.com/powershell-liveid/ -Credential $UserCredential -Authentication Basic -AllowRedirection
Import-PSSession $Session
Next, run the following command to get a CLIXML file from the failed user’s move request. Note that you can specify anywhere you want the export directory to be as well as the file name:
Get-MoveRequestStatistics user@domain.xxx -IncludeReport | Export-Clixml <DriveLetterPath\filename.xml>
Next, you will run the following 2 commands. Note, that in the first command, you will need to specify the path of the CLIXML you exported.
$stats = Import-Clixml <DriveLetterPath\filename.xml>
$stats.report.failures[-1]
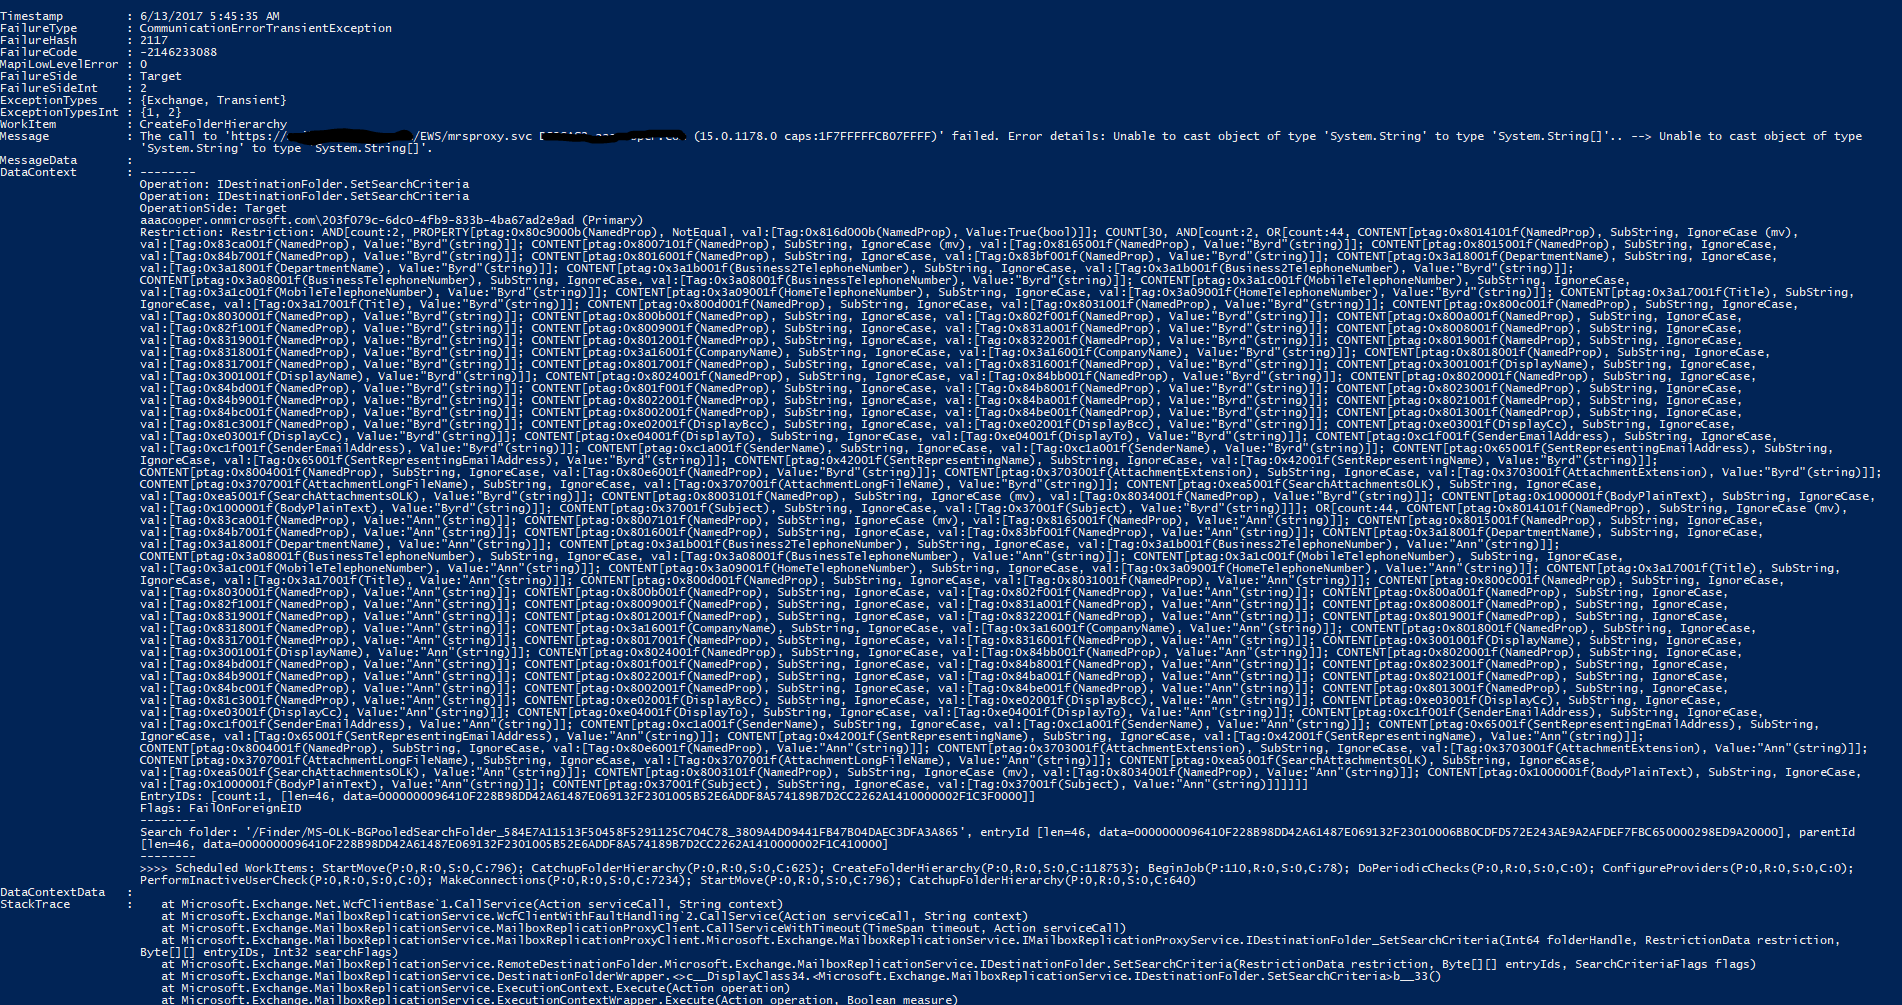
Your PowerShell window should now be showing the results for the query you ran to show the latest failure for the mailbox move. An example is shown below. What you will be looking for can be found in the section DataContext. There will be a mention of a folder in the Mailbox Information Store that looks like the following:
/Finder/Sent Directly To Me
/TopOfINformationStore/SentItems/
These folders are actual folders in the affected mailbox. Depending on what the issue is, you will need to remove the appropriate folders in 2 separate ways. Anything with /finder/ at the beginning is a search folder, and can be removed with a simple command, but it still requires the outlook profile to be setup. Anything else requires that you find the problematic folder in question and remove it before migration can resume.
Once you have found your problem folder, you will use one of the two methods below to resolve your issue:
To fix search folders, simple open a Run command window, and type the following:
Outlook.exe /cleanfinders
After doing this, you will be able to resume the migration batch you have setup in Exchange Online and the migration will complete normally.
NOTE: There are instances where running the above command may not resolve the issue. If that is the case, you can go to the next section and remove via means of MFCMAPI.
Assuming you have followed the steps earlier to configure the Outlook profile, and have already downloaded the MFCMAPI tool, you will open the MFCMAPI.exe utility.
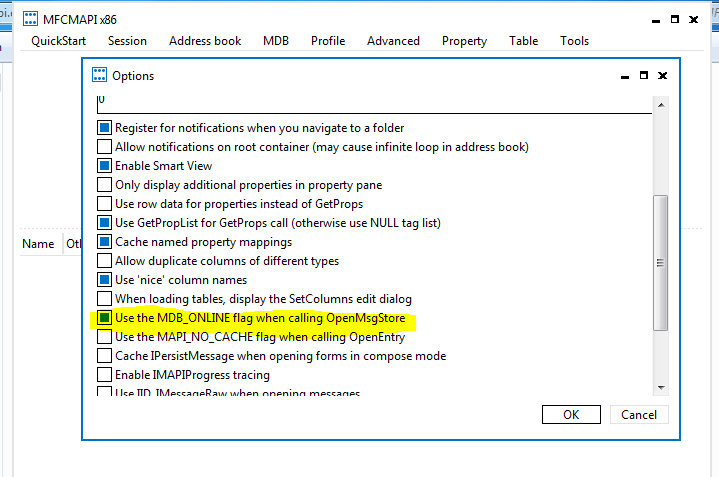
Before you connect to the mailbox, click Tools > Options in the upper right corner of MFCMAPI. Form there, scroll down and make sure you check User the MDB_ONLINE flag when calling OpenMsgStore. Click Ok when done.
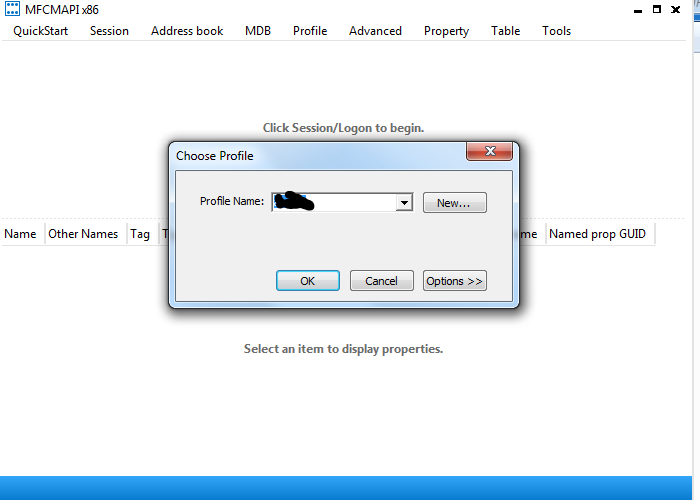
Next, click on Session > Login in MFCMAPI, and choose the mail profile you have setup.
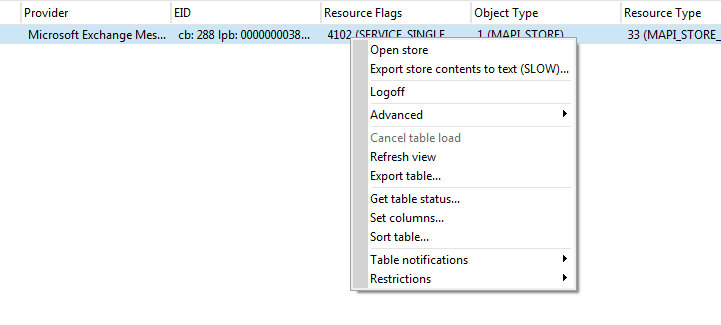
You should now be connected to the mailbox. The next thing you will need to do is right-click the mailbox shown and choose the option for Open Store.
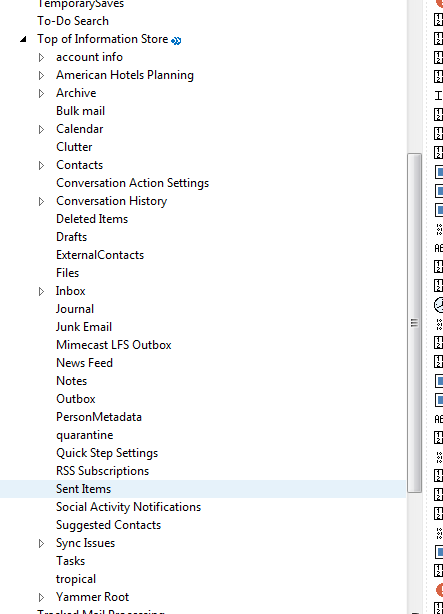
You will now see the Root Container of the mailbox. If you click on the Root Container, you can expand it and drop down all sub items. Root would be considered / in the migration error message. So if you are looking for a folder such as junk email or sent items, you will go to Top of Information Store to view those folders. If you are looking for search folders, you would go to the Finders folder.
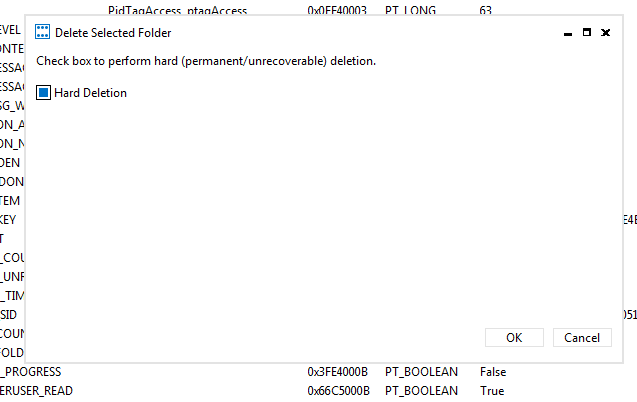
Once you find your problematic folder, you will need to right-click that folder and choose to Delete Folder. A window will appear, asking you to confirm. Make sure you check the box for Hard Deletion and click Ok to proceed. You may get an error message, but this is normal.
NOTE MAKE SURE THAT IF THIS IS A FOLDER THAT CONTAINS MAIL, LIKE SENT OR A CUSTOM FOLDER, EXPORT IT TO A PST FIRST!!!!!!
After deleting the folder, close MFCMAPI, remove the outlook profile, and resume the batch in Exchange Online and the mailbox will migrate normally.
Well, this is the process. I hope this helps any of you other Exchange Admins out there. Until next time!


